
HOW TO REPLACE KNIVES ON A MULCHER: STEP-BY-STEP GUIDE (WITH PHOTOS)
Mulchers are essential machines in the agricultural and grounds maintenance sectors. They are used to shred grass, plant residues and other woody materials. One of the elements most prone to wear and therefore to be replaced periodically are the knives.
Proper maintenance and replacement of these cutting elements ensure efficient operation, increased operational safety, and long equipment life. Not least, it also optimizes the operating machine’s fuel consumption and speeds up processing time.
We will look, step by step, at how to undertake the process of replacing knives on a mulcher, providing practical advice and direction on the tools needed and safety precautions
Why it is important to replace knives
Knives are components subject to constant wear and tear. With continuous use they tend to lose their cutting ability to deform or become damaged, compromising the quality of work and increasing the risk of machine damage. Worn or damaged knives can lead to:
- Reduced cutting efficiency
- Risk of abnormal vibration
- Excessive noise
- Danger of sudden breakage and damage to components
- Safety issues for the operator
- Increased time required to do the work
For these reasons, it is a good idea to regularly check the condition of the knives and replace them when necessary, following the manufacturer’s directions.
What does it take to replace the knives of a mulcher?
Before starting the work of replacing trenches, it is a good idea to have some tools and materials on hand, such as spare blades, wrenches needed for disassembly and reassembly, pliers and hammer (preferably made of rubber or plastic so as not to damage the affected parts), protective equipment, a lubricating oil (preferably penetrating spray for unlocking bolts), and the machine’s operating manual.
In addition, it is necessary to work with the engine off, with cold parts and no moving parts, so as to reduce hazards. In this regard, it is necessary to position oneself in a safe and stable condition, preferably in a flat area.

Detailed procedure for replacing knives
Once these premises are made clear, it will be possible to begin the work of replacing knives on the mulcher. Here is the step-by-step guide to be able to operate safely and efficiently.
- Secure the forage harvester: lift it up and lock the machine securely
- Always work with the machine off and depressurized.
- Wear mandatory PPE (gloves, goggles, safety shoes).
- Prepare the necessary tools for disassembly.
- If there is a protective cover, remove it by setting aside screws and bolts.
- Check the wear condition of the knives and take a general look.
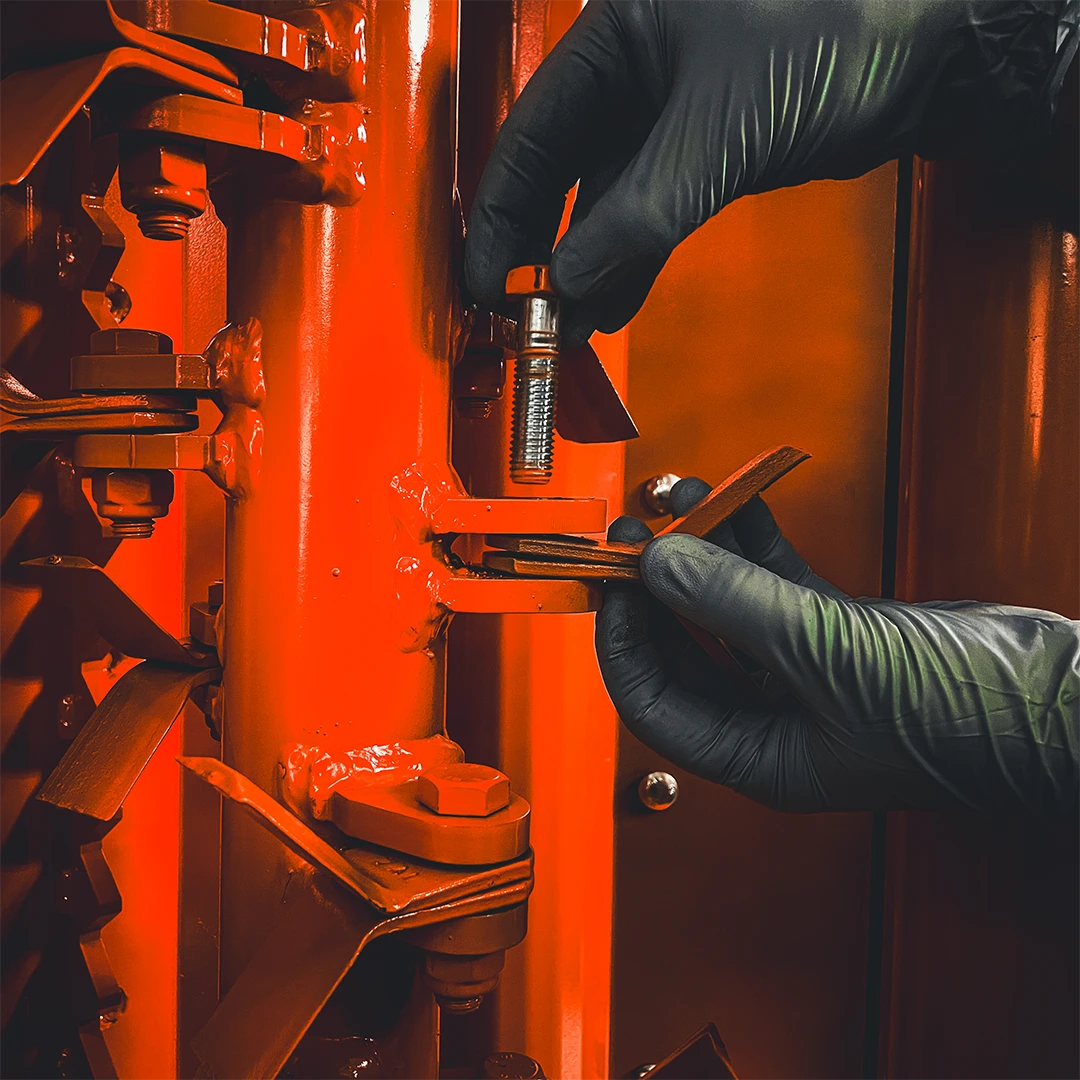
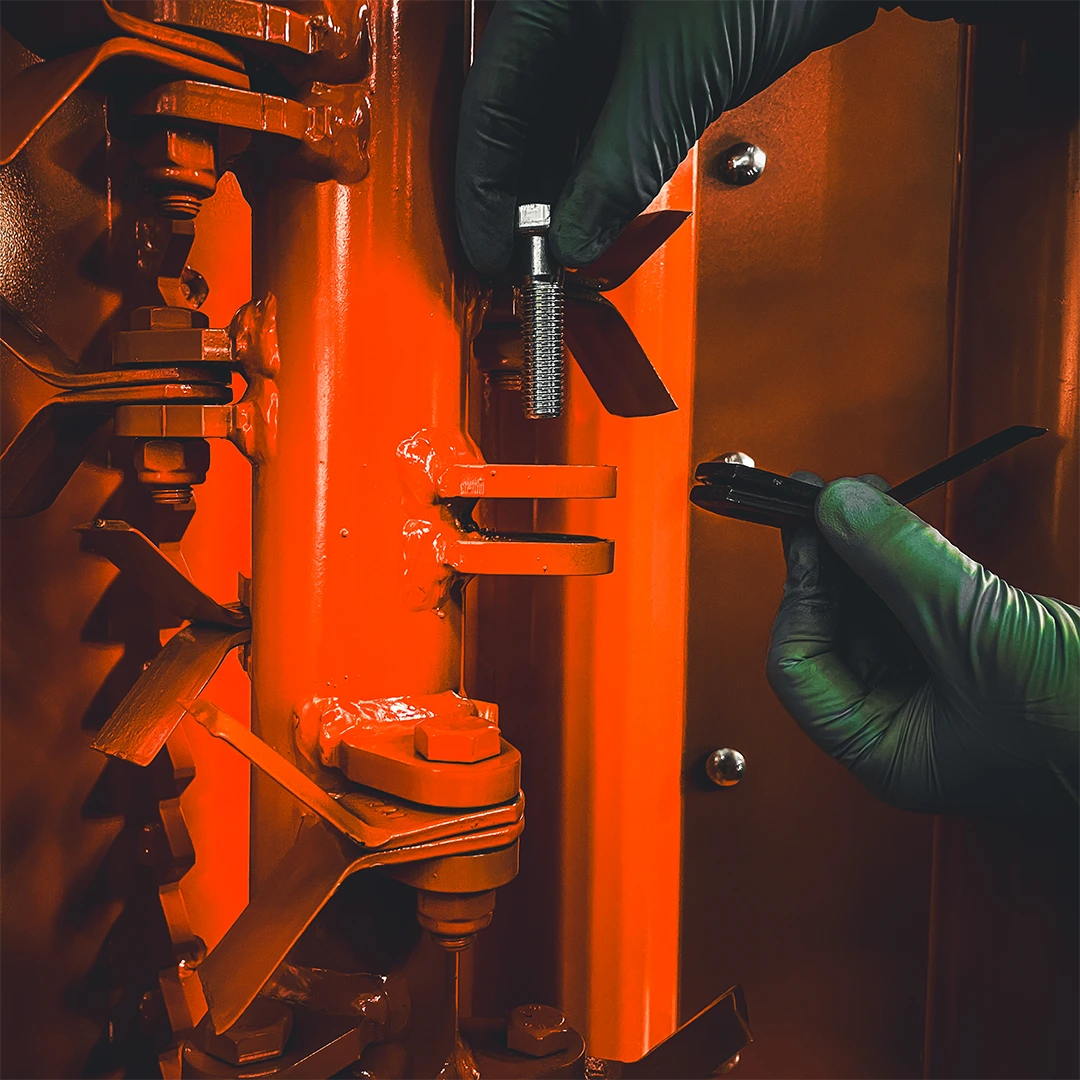
- Remove the worn knives one at a time by unscrewing the supporting screws.
- Clean the parts you will find dirty and with work debris.
- Check the condition of the knife holders and check for ovalization.
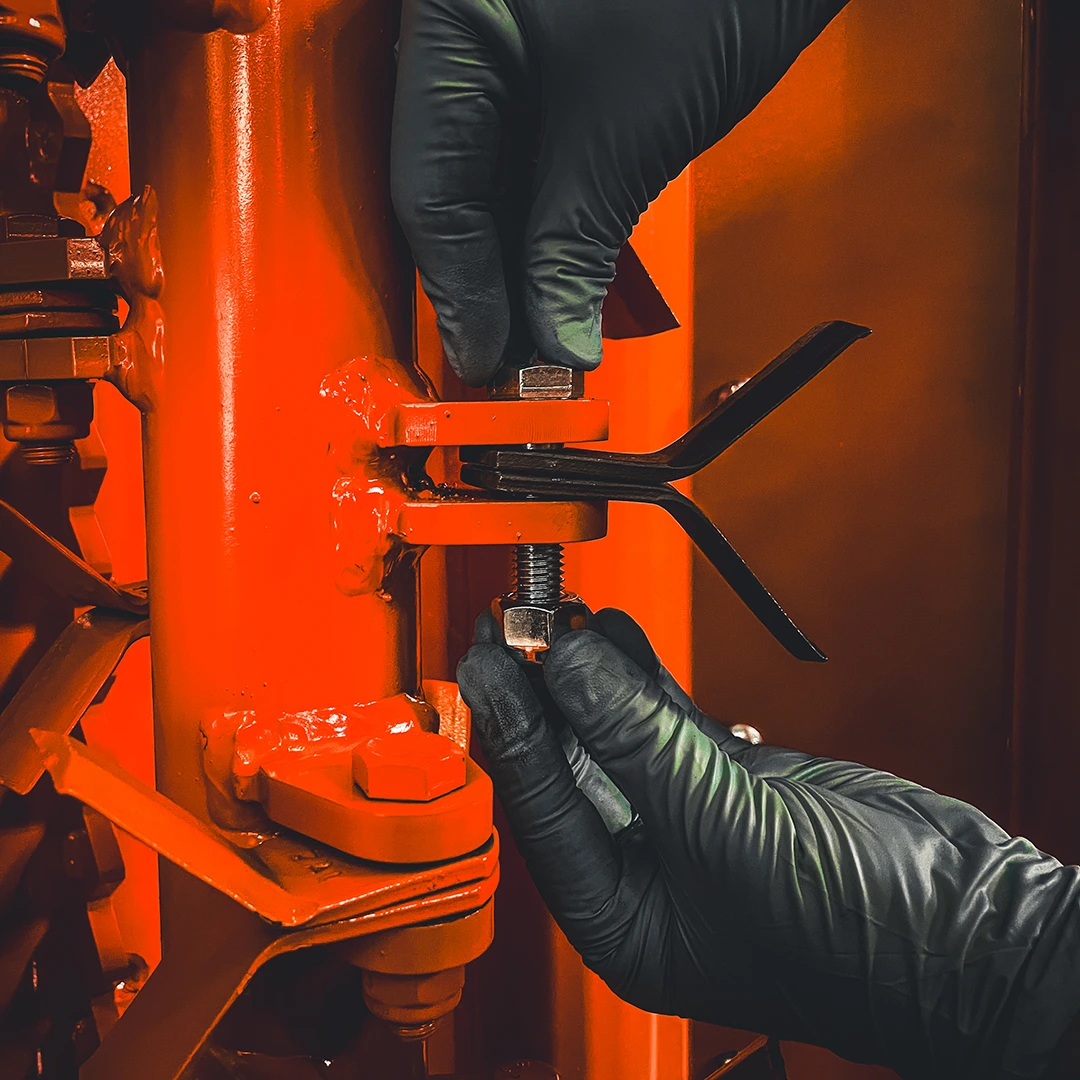
- Reassemble the new knives and screws in the same direction, following the correct sequence.
- Use only new bolts and replace the nuts at each change (even if they are apparently intact).
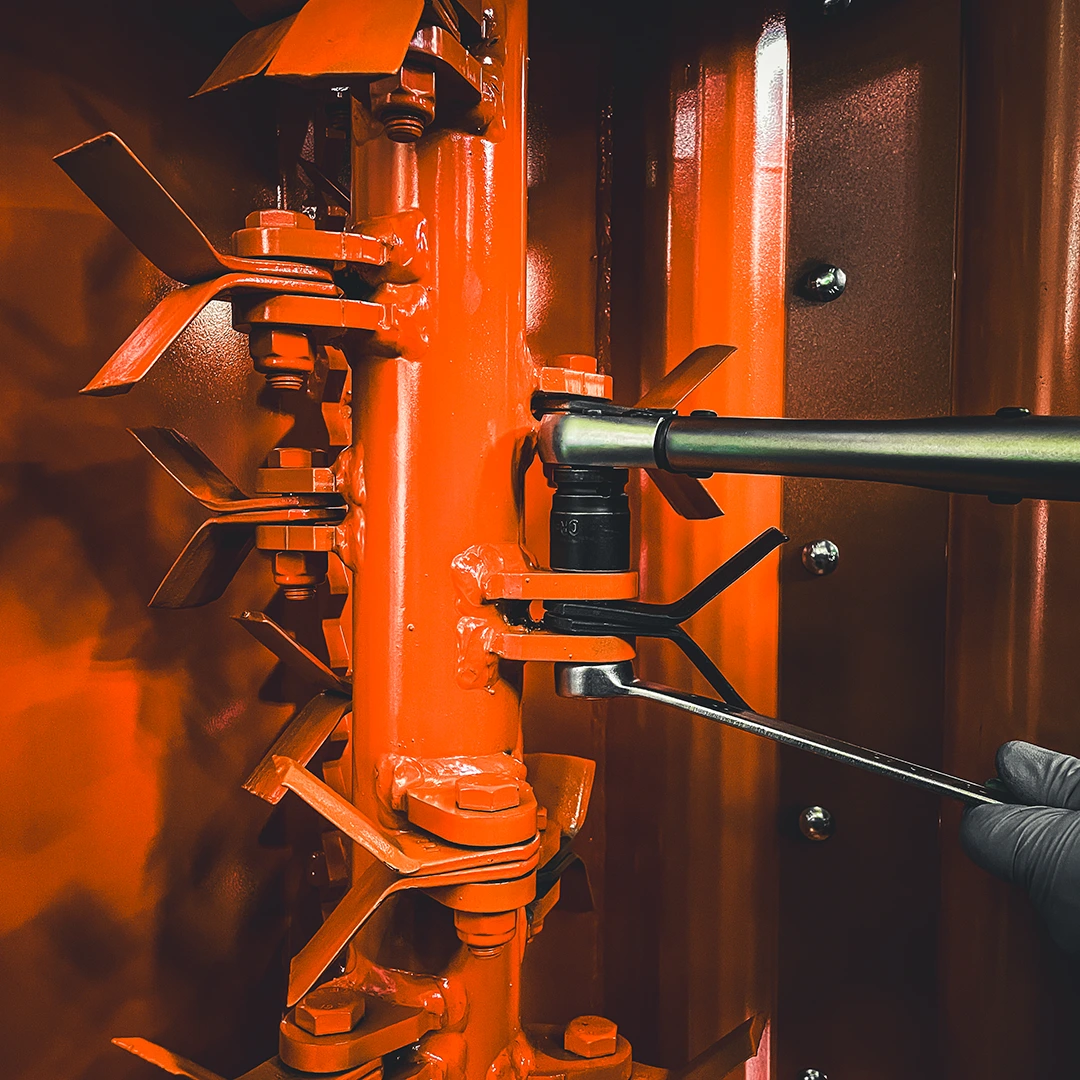
- Hand-tighten screws and bolts evenly so that no stresses are created that could create imbalances. Only at the end tighten all the fasteners.
- Comply with the prescribed tightening torque.
- Make sure all screws are tightened properly.
- Verify that each knife can swing freely.
- Do not mix different tools: mount only original knives of the same type.
- Conclude with an initial low-speed test.
Conclusion
Changing the knives on a forage harvester is a key operation to keep the efficiency of the machinery high and ensure operator safety. It is also crucial to getting the job done efficiently and with quality.
By following this step-by-step guide and our suggestions, you will be able to tackle this maintenance task safely and competently, reducing downtime and preventing damage. Always remember to adhere to the manufacturer’s instruction manual and make periodic checks for optimal operation. With proper maintenance, your mulcher will stay with you for a long time, delivering reliable, quality performance over time.